
If you’ve ever used Elementor’s tabbed widget, you know that it only offers a default content box. While you can edit text and add HTML, it’s not very interactive or visually appealing. Here’s how you can enhance it:
Step 1: Creating an Interactive Map Tab
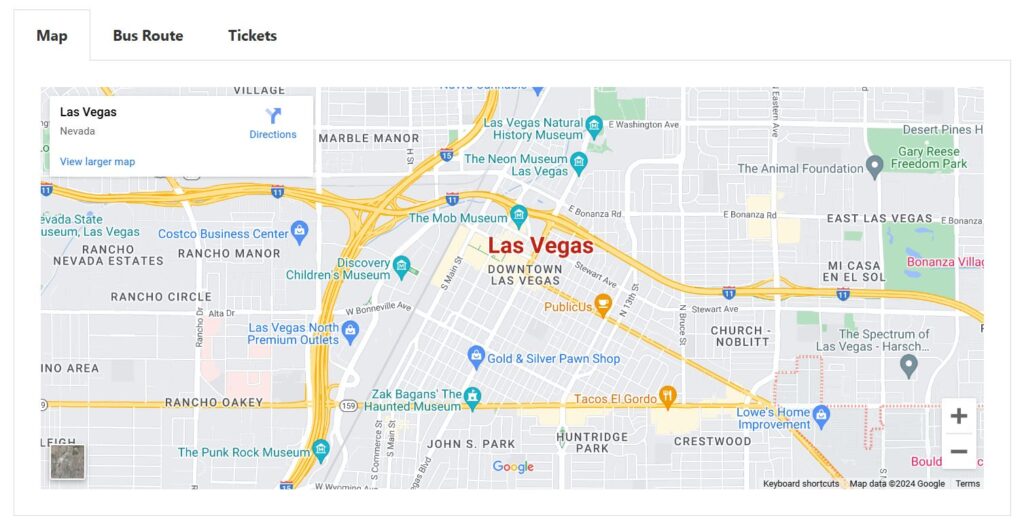
- Duplicate the Tab Widget: Start by duplicating the tab widget in Elementor.
- Add a New Template Section: Name this section “Tab One Map.”
- Search for the Map Widget: Drag the map widget into your new section.
- Enter Your Address: For this example, we’ll use Las Vegas.
- Set the Zoom Level and Height: Adjust these settings to fit your design.
- Publish the Template: Once you’re satisfied, publish it.
- Insert the Shortcode: Copy the shortcode from your template and paste it into the tab content. Ensure you’re in the text mode to avoid formatting issues.
- Rename the Tab: Name this tab “Map.”
Step 2: Creating a Bus Route Tab
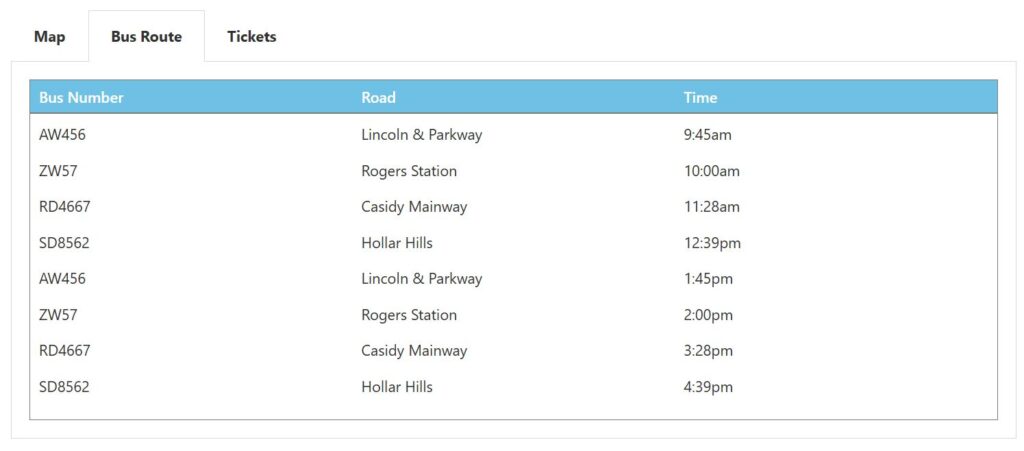
- Name the New Template Section: Call this section “Tab Two Bus Route.”
- Search for the Grid Widget: Drag the grid widget into your new section.
- Create the Bus Route Table:
- Use a text box to label columns (Bus Number, Road, Time).
- Ensure there’s only one row initially.
- Customize the background color and typography to your liking.
- Duplicate Rows: Duplicate the widget to add more rows. Change colors as needed.
- Publish the Template: Once you’re done, publish it.
- Insert the Shortcode: Copy the shortcode and paste it into the tab content in text mode.
- Rename the Tab: Name this tab “Bus Route.”
Step 3: Creating a Ticket Information Tab
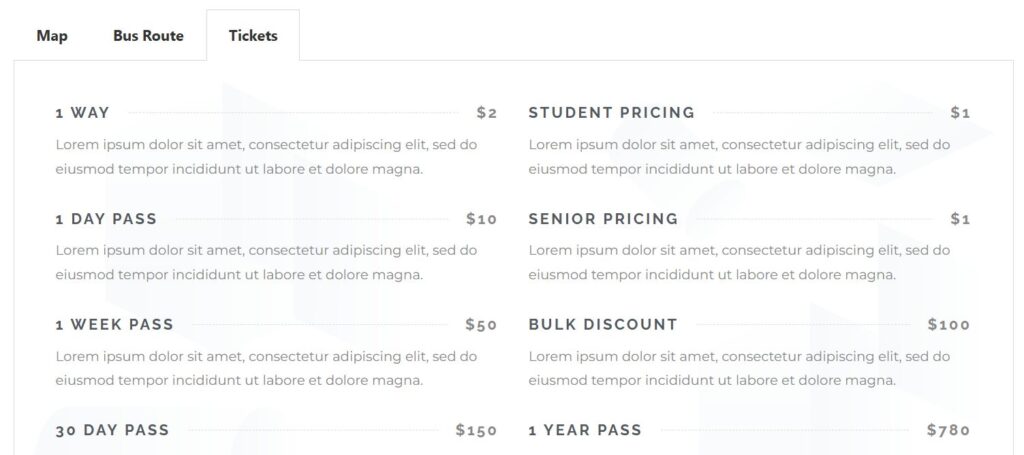
- Name the New Template Section: Call this section “Tab Three Tickets.”
- Search for the Pricing List Widget: Drag the pricing list widget into your new section.
- Format the Pricing List: Adjust the formatting to your preference.
- Duplicate the List: To create side-by-side lists, duplicate the widget and use the row horizontal icon.
- Publish the Template: Once satisfied, publish it.
- Insert the Shortcode: Copy the shortcode and paste it into the tab content in text mode.
- Rename the Tab: Name this tab “Tickets.”
Preview and Final Touches
Once all tabs are set up, preview your changes. You should see:
- Map Tab: Displays your interactive map.
- Bus Route Tab: Shows your bus route table.
- Tickets Tab: Lists ticket information.
Get the Exact Tutorial and Download the Elementor Templates
For a detailed tutorial and the exact codes used in this example, view the YouTube video and go to labs.thewpgirls.com to download the Elementor code.